Looking to create a WooCommerce restaurant ordering system that’s capable of sending SMS order updates to site admins and customers? This guide is here to help.
To begin, we’ll discuss why SMS updates are so crucial for restaurant websites. Then, we’ll walk you through the steps to create your own WooCommerce restaurant ordering system complete with the capability to send SMS notifications.
Plugins used in this tutorial
- WooCommerce Restaurant Ordering– A simple-to-use plugin that lets you add a sleek yet functional ordering system to your restaurant website in minutes. Easily showcase your menu, accept orders, set open and close times, and more.
- WP SMS– A powerful SMS notification plugin that allows you to share order updates with customers and your kitchen staff. It integrates with Twilio, BulkSMS, Clickatell, Plivo, etc., and is fully GDPR compliant.
Ready? Let’s get started.
Why is SMS important for online restaurant ordering?
SMS is the best way to send real-time updates to your customers. They have a much higher open rate; most people read text messages within minutes of receiving them.
When customers order food online, they want to know the status immediately and see important updates about their orders right away. With SMS, you can send messages to instantly notify customers about order confirmation, preparation updates, delivery or pickup status, and more. This helps you build trust and improve their overall experience.
A side benefit is that SMS can be used to send promotional offers and discounts to your customers to encourage repeat orders and increase sales.
Tutorial: How to create a WooCommerce restaurant ordering system with SMS notifications
First, we’ll set up WooCommerce Restaurant Ordering and use it to create the food order form. Then, we’ll add WP SMS and enable SMS notifications. Note that this tutorial assumes that you have already installed and configured the WooCommerce plugin on your site.
Step 1: Add a food ordering form to your website
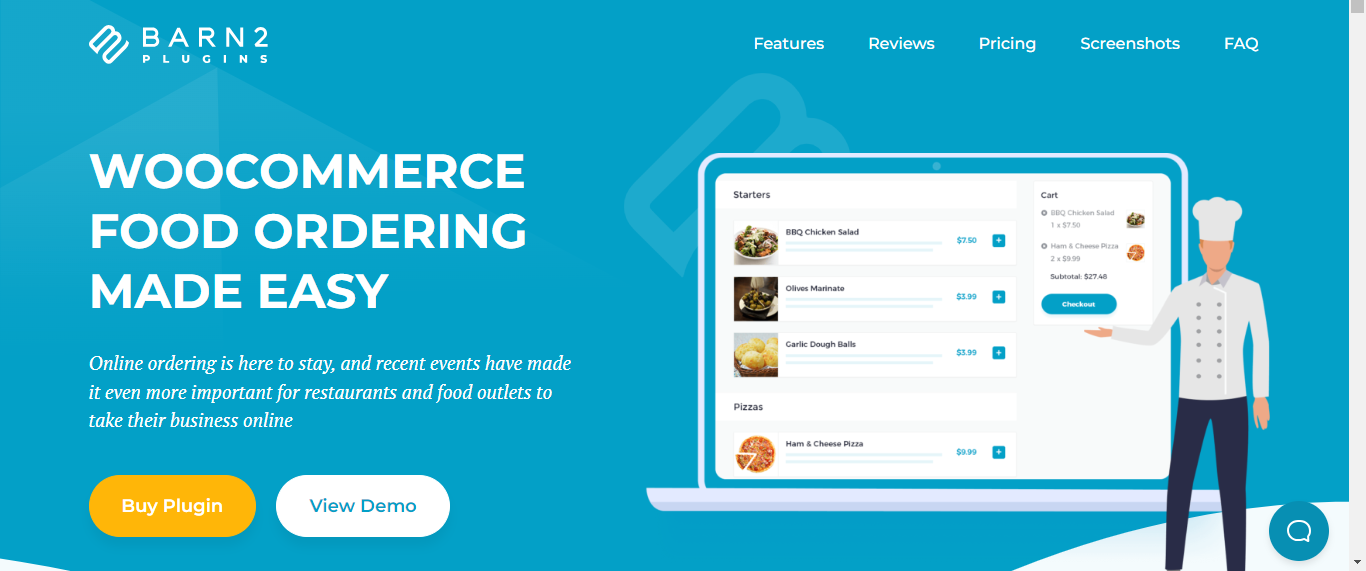
Barn2’s WooCommerce Restaurant Ordering is a robust plugin that simplifies the online ordering process for restaurants, cafes, and other food businesses. It lets customers easily browse your menu offerings, select items, and place orders efficiently.
WooCommerce Restaurant Ordering’s top features
- Customers can view your entire menu and place their orders from an easy-to-navigate ordering form on your website.
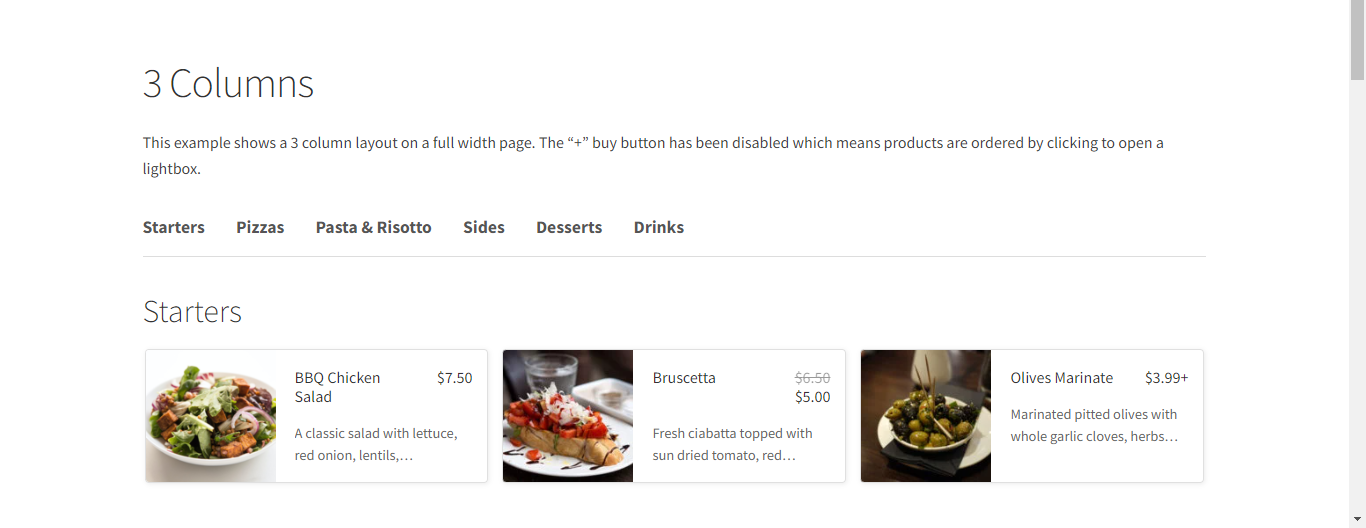
- You can showcase menu options in a list format or columns of two or three together with images, short descriptions, prices, etc.
- It lets you set opening and closing times for your restaurant website, similar to a physical location. Customers can’t place orders during the times your website is “closed”.
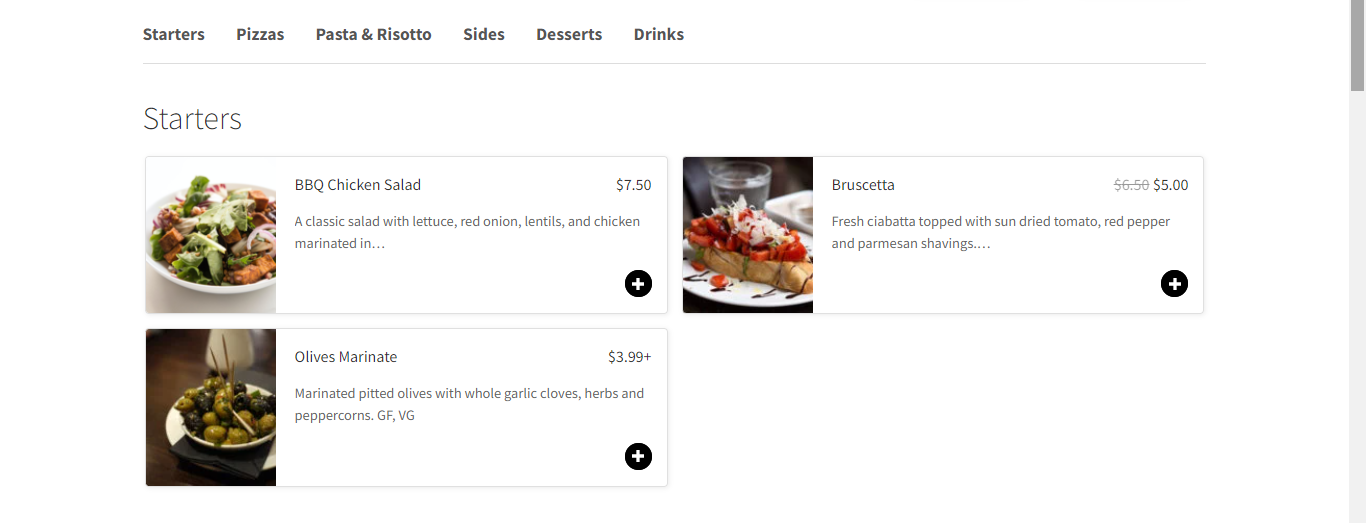
- You can customize the ordering process by letting customers place their orders with one click or add a lightbox to every food so they can select their desired quantity and additional options like toppings, sides, special instructions, etc.
- It is fully responsive and creates a smooth ordering experience on all mobile phones, tablets, laptops, etc.
Follow these steps to set up WooCommerce Restaurant Ordering on your website.
1. Add each food as a new product and assign categories
Here, we’ll add each menu item as a new product. Then, add products to relevant categories.
1. Log into your WordPress dashboard, and navigate to Products → Add New.
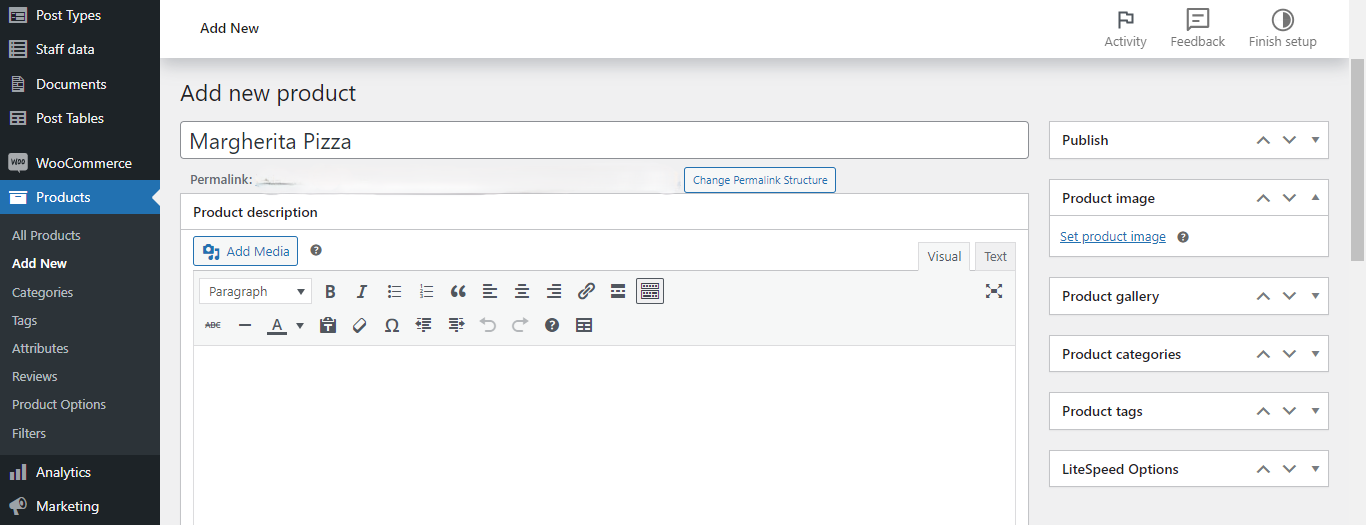
2. Enter the name of your dish as the product name, for example, “Margherita Pizza”.
3. Add a description of the food. Feel free to include details like ingredients, portion size, and any special notes.
4. Update the short description with a summary or key selling points of the item.
5. Update the product image and gallery images. Make sure you use high-quality, mouth-watering photos.
6. Locate the “Product categories” box on the right-hand side of the screen. Create and assign relevant categories, such as “Pizzas”, “Pastas”, or “Appetizers”. This helps customers easily find what they’re looking for.
7. Update the remaining details — product type (simple or variable), price, stock information, etc.
8. Scroll up and hit “Publish” on the right side.
9. Rinse and repeat until you’ve added all the products and categories your restaurant offers.
2. Add and customize the WooCommerce restaurant ordering form
1. Get the WooCommerce Restaurant Ordering plugin and add it to your website.
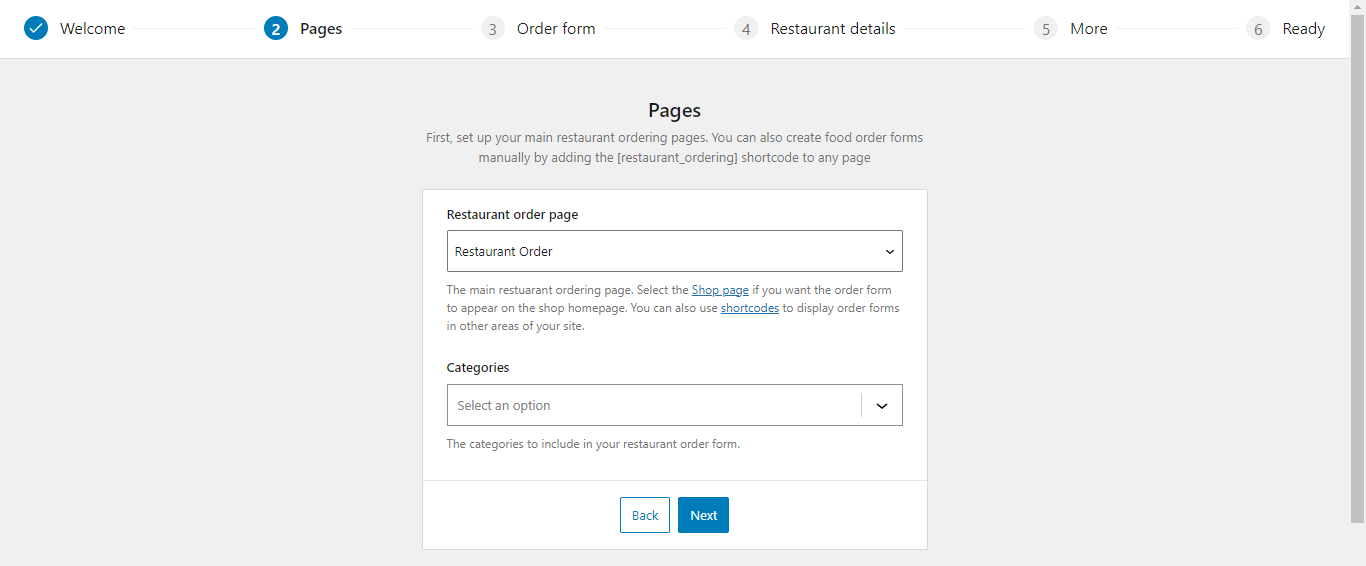
2. Choose the page you want customers to order from. Once installed, the plugin creates a standalone page called “Restaurant Order” to house the food ordering form. You can select that or any other page on your site. For this tutorial, I’ll select “Restaurant Order”.
3. Pick the categories for each food that you offer. (You’ll get to select from the product categories you created earlier).
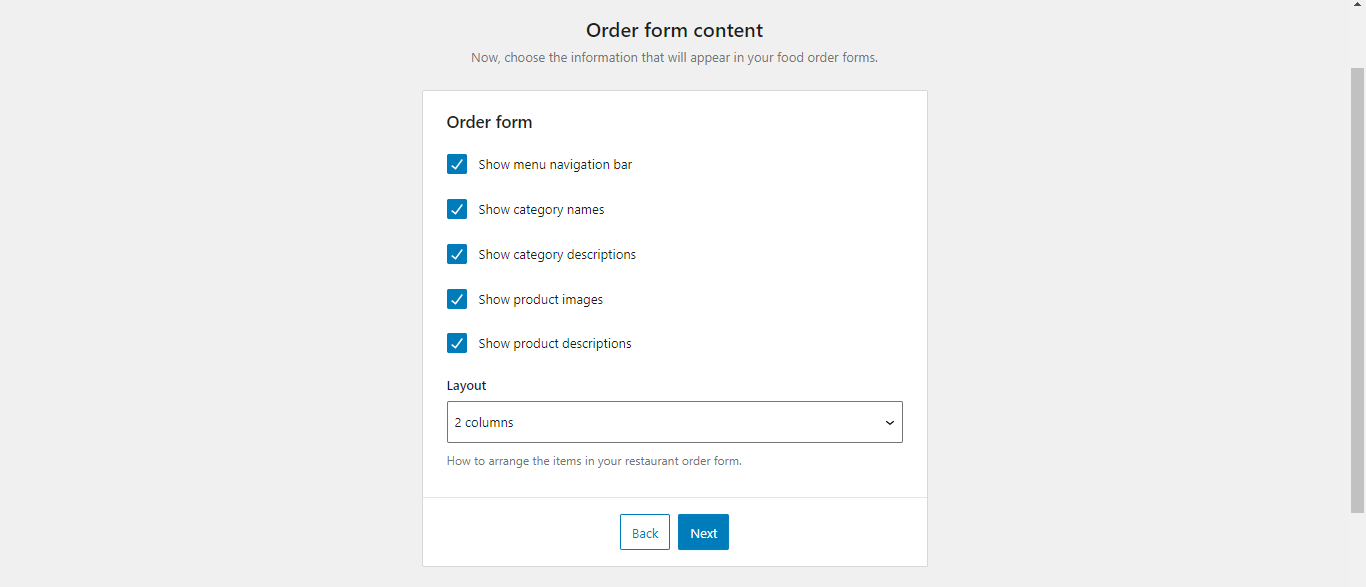
4. Tick the “Order form” checkboxes to choose the fields and details you want shown in your ordering menu. I recommend selecting all the options here.
5. Choose the number of columns to display food items in from the “layout” option.
6. Update the details about your restaurant, i.e., Name and Address. You can also add important info about delivery or pickup, such as delivery fees, timelines, key policies, etc.
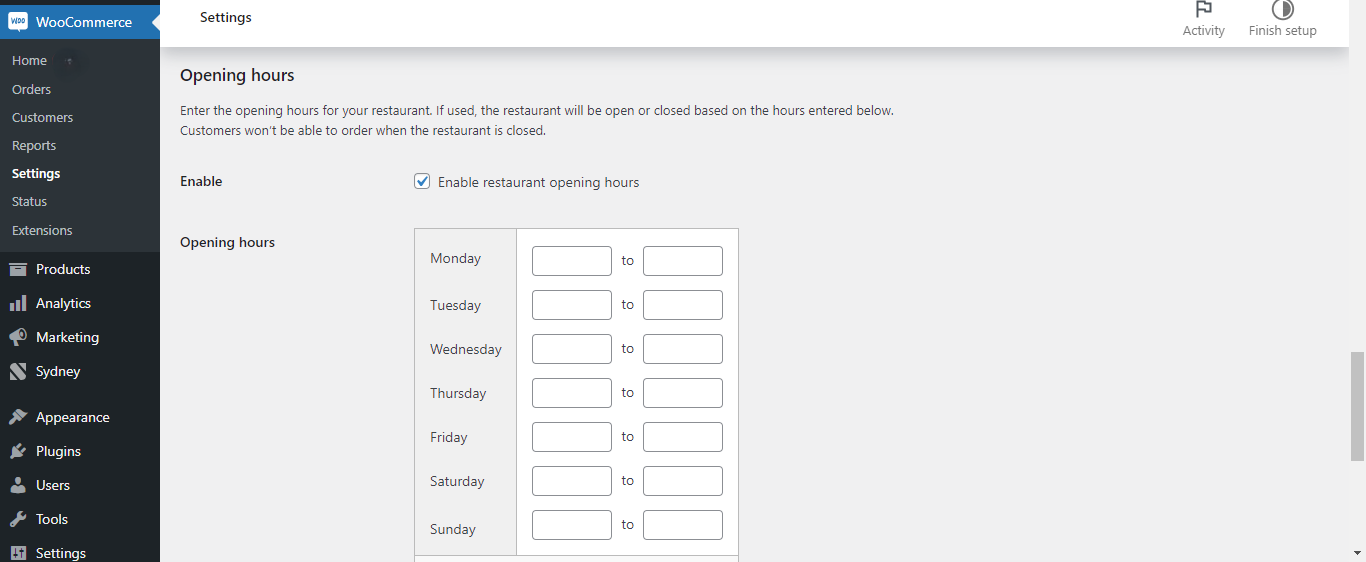
7. Select “Add opening hours”. This will take you to WooCommerce → Settings → Restaurant Ordering, from where you can add details.
8. Tick the “Enable restaurant opening hours” checkbox. Then, add opening and closing times for each day of the week.
9. Add messages to be displayed on the front end of your site during opening and closing hours.
10. Scroll down and hit “Save changes”.
Note: Head to WooCommerce → Settings → Restaurant Ordering to amend the settings, and find additional options (for instance, customize the information shown in product lightboxes, update order methods, etc.).
Step 2: Enable SMS notifications on your restaurant website
WP SMS is a powerful plugin that allows you to send order notifications via text message to your customers and restaurant staff directly from your WordPress site. Out of the box, it integrates with over 300 SMS gateways and makes it easy to create and manage SMS marketing campaigns. Plus, it’s GDPR-compliant.
You can use WP SMS to send order notifications, such as:
- Order confirmation SMS’ to confirm the order as soon as it’s placed.
- Preparation updates to notify customers when their order is being prepared.
- Delivery updates to inform customers when their order is out for delivery and provide an estimated arrival time.
- Promotional SMS messages to share offers, announce new launches, etc.
- Cart recovery messages to encourage customers to complete their order(s).
- Feedback requests after the order is delivered.
1. Configure the general settings
1. Get the WP SMS plugin and add it to your site.
2. Navigate to SMS → Settings → General.
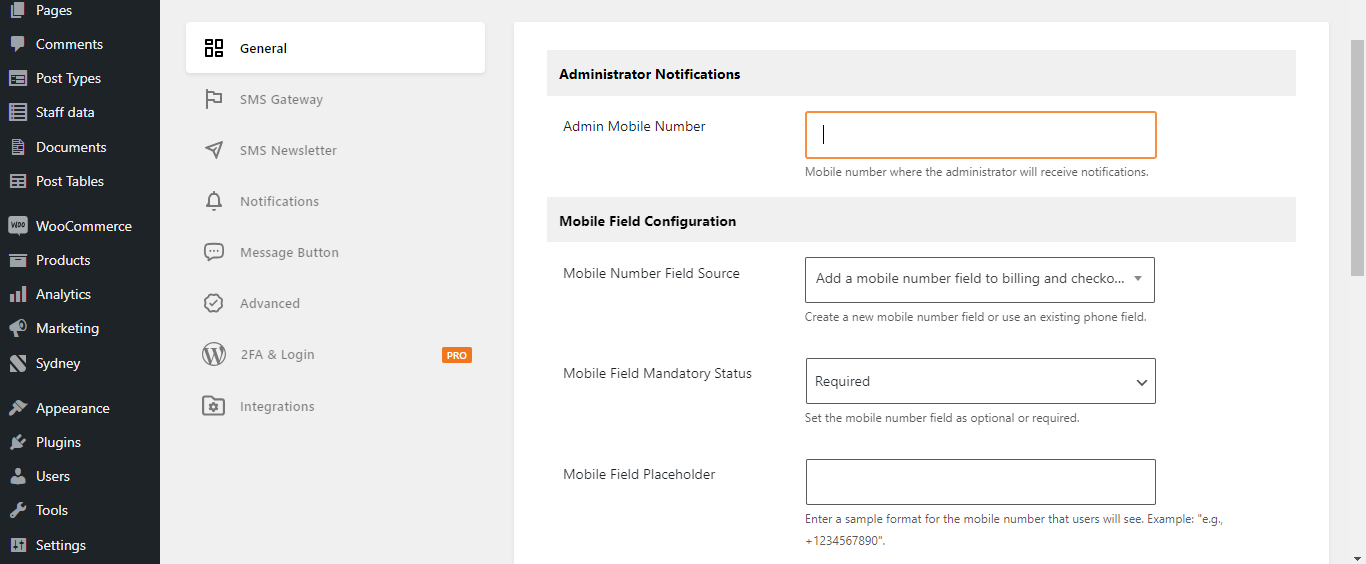
3. Enter the mobile number for which you want to get admin notifications about your WP SMS account.
4. In the “Mobile Number Field Source” field, select “Add mobile number field to existing billing and checkout pages”.
5. The “Mobile Field Mandatory Status” lets you specify whether you want the mobile field to be optional or required. I recommend that you make this required.
6. Update the placeholder label for the mobile number field.
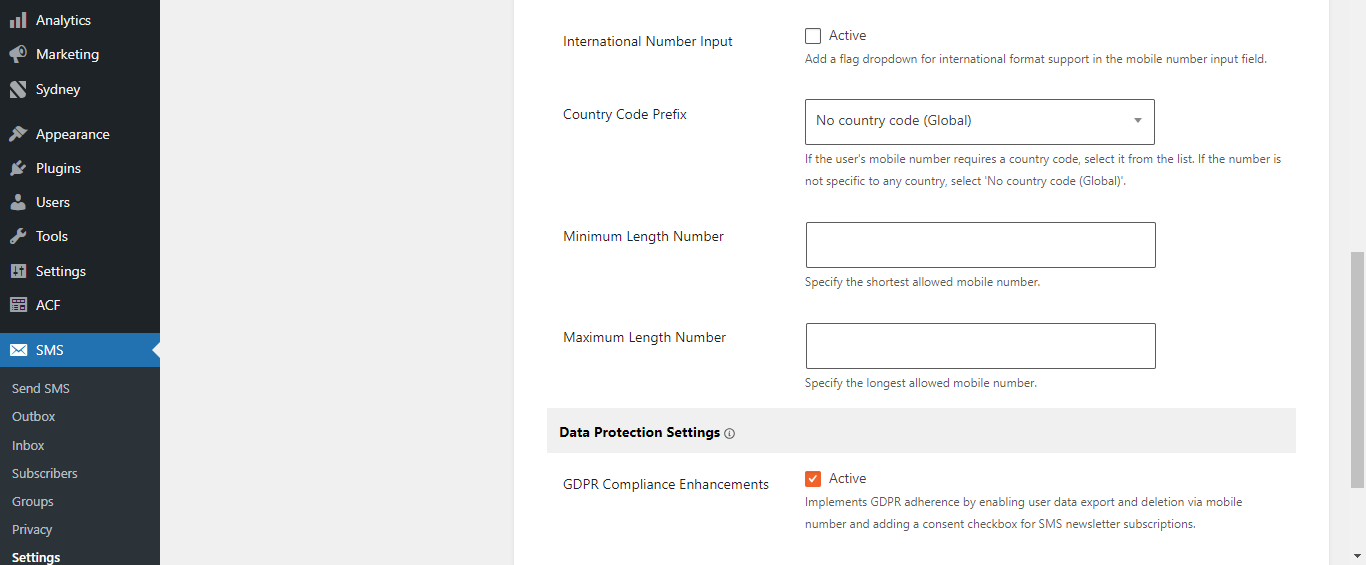
7. If you plan to deliver orders internationally, tick the ‘International Number Input’ checkbox. Then add the country code prefix. Otherwise, leave this blank.
8. Update the minimum and maximum lengths for the mobile number field. I recommend that you update these in line with your country’s requirements to make sure customers enter their phone numbers correctly.
9. Tick the “GDPR Compliance Enhancements” checkbox.
10. Hit “Save Changes”.
2. Set up your SMS gateway
1. Within SMS → Settings, navigate to the SMS Gateway tab.

2. Choose your preferred SMS gateway to send messages from the list and enter the required credentials (API Username, password, and sender number).
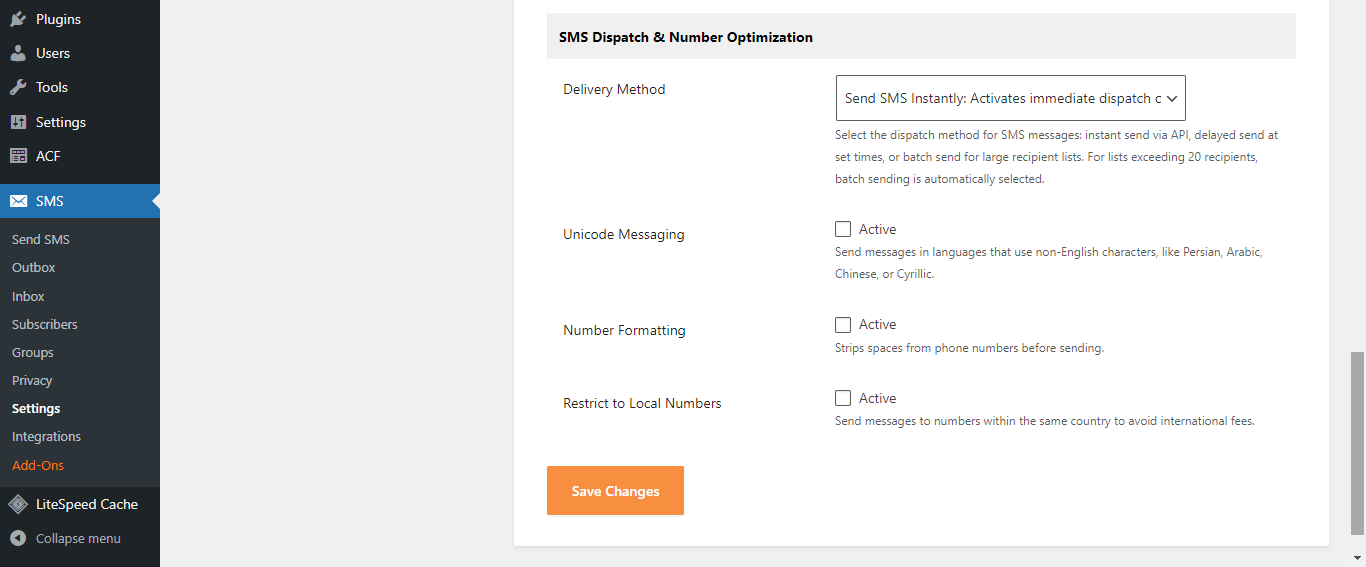
3. In the “Delivery method”, select “Send SMS instantly: Activates immediate dispatch of messages via API upon request”.
4. Tick the ‘Restrict to Local Numbers’ checkbox.
5. Hit “Save Changes”.
3. Enable WooCommerce order updates
1. Navigate to SMS → Integrations → WooCommerce.
2. Go to the “Order Meta Box” section and set it to “Active” status.
3. Go to the “Notify for new order” section and tick the “Send SMS” box.
4. Enter the numbers of admins who need to be notified about orders received (such as your kitchen staff and other restaurant admins) in the SMS receiver section, separated by commas.
5. Customize the message content for each order notification by selecting the fields to appear.
6. Go to the “Notify to customer order” section and tick the “Send SMS” box. This will send a confirmation SMS to customers once their orders are successfully placed.
7. Customize the message content for each order notification by selecting the fields in the “Message body” field.
8. Go to the “Confirmation Checkbox” section and activate it.
9. Go to the “Notify of order status” section and tick the “Send SMS” checkbox. This will send an SMS with updates about changes in order status (e.g., new orders, completed orders, etc).
10. Customize the message content for each order notification by selecting the fields in the “Message body” field.
11. Go to the “Notify of specific order status” section and activate it.
12. Customize the message content for each order notification by selecting the fields in the “Message body” field. This is useful if you want to tailor the messages for specific order status updates.
Ready to set up your WooCommerce restaurant ordering system?
In this tutorial, I showed you how to set up a WooCommerce restaurant ordering form on your website using:
- WooCommerce Restaurant Ordering- To add a robust restaurant ordering system to your WordPress site in minutes. You can easily showcase your menu, accept orders, set open and close times, and more.
- WP SMS- To share order updates via text with customers and your kitchen staff. It integrates with over 300 SMS platforms like Twilio, BulkSMS, Clickatell, Plivo, etc., and has GDPR compliance enhancements baked in.
Start accepting orders via your website today!